With Obiguard, you can take advantage of features like fast AI gateway access, observability, prompt management, and more, all while ensuring the secure management of your LLM API keys through a virtual key system.
Provider Slug. azure-openai
Obiguard SDK Integration with Azure OpenAI
Obiguard provides a consistent API to interact with models from various providers. To integrate Azure OpenAI with Obiguard:
First, add your Azure details to Obiguard’s Virtual Keys
Here’s a step-by-step guide:
- Request access to Azure OpenAI here.
- Create a resource in the Azure portal here. (This will be your Resource Name)
- Deploy a model in Azure OpenAI Studio here. (This will be your Deployment Name)
- Select your
Foundation Model from the dropdowon on the modal.
- Now, on Azure OpenAI studio, go to any playground (chat or completions), click on a UI element called “View code”. Note down the API version & API key from here. (This will be your Azure API Version & Azure API Key)
When you input these details, the foundation model will be auto populated. More details in this guide.
If you do not want to add your Azure details to Obiguard, you can also directly pass them while instantiating the Obiguard client. More on that here. 1. Install the Obiguard SDK
Add the Obiguard SDK to your application to interact with Azure OpenAI’s API through Obiguard’s gateway.
2. Initialize Obiguard with the Virtual Key
Set up Obiguard with your virtual key as part of the initialization configuration. You can create a virtual key for Azure in the Obiguard UI.
from obiguard import Obiguard

client = Obiguard(
  obiguard_api_key="sk-obg***",  # Your Obiguard API key
  virtual_key="AZURE_VIRTUAL_KEY"   # Replace with your virtual key for Azure
)
3. Invoke Chat Completions with Azure OpenAI
Use the Obiguard instance to send requests to your Azure deployments. You can also override the virtual key directly in the API call if needed.
completion = client.chat.completions.create(
    messages= [{ "role": 'user', "content": 'Say this is a test' }],
    model= 'custom_model_name'
)

print(completion.choices)
Image Generation
Obioguard supports multiple modalities for Azure OpenAI and you can make image generation requests through Obioguard’s AI Gateway the same way as making completion calls.
from obiguard import Obiguard
client = Obiguard(
obiguard_api_key="sk-obg***", # Your Obiguard API key
virtual_key="DALL-E_VIRTUAL_KEY" # Referencing a Dall-E Azure deployment with Virtual Key
)
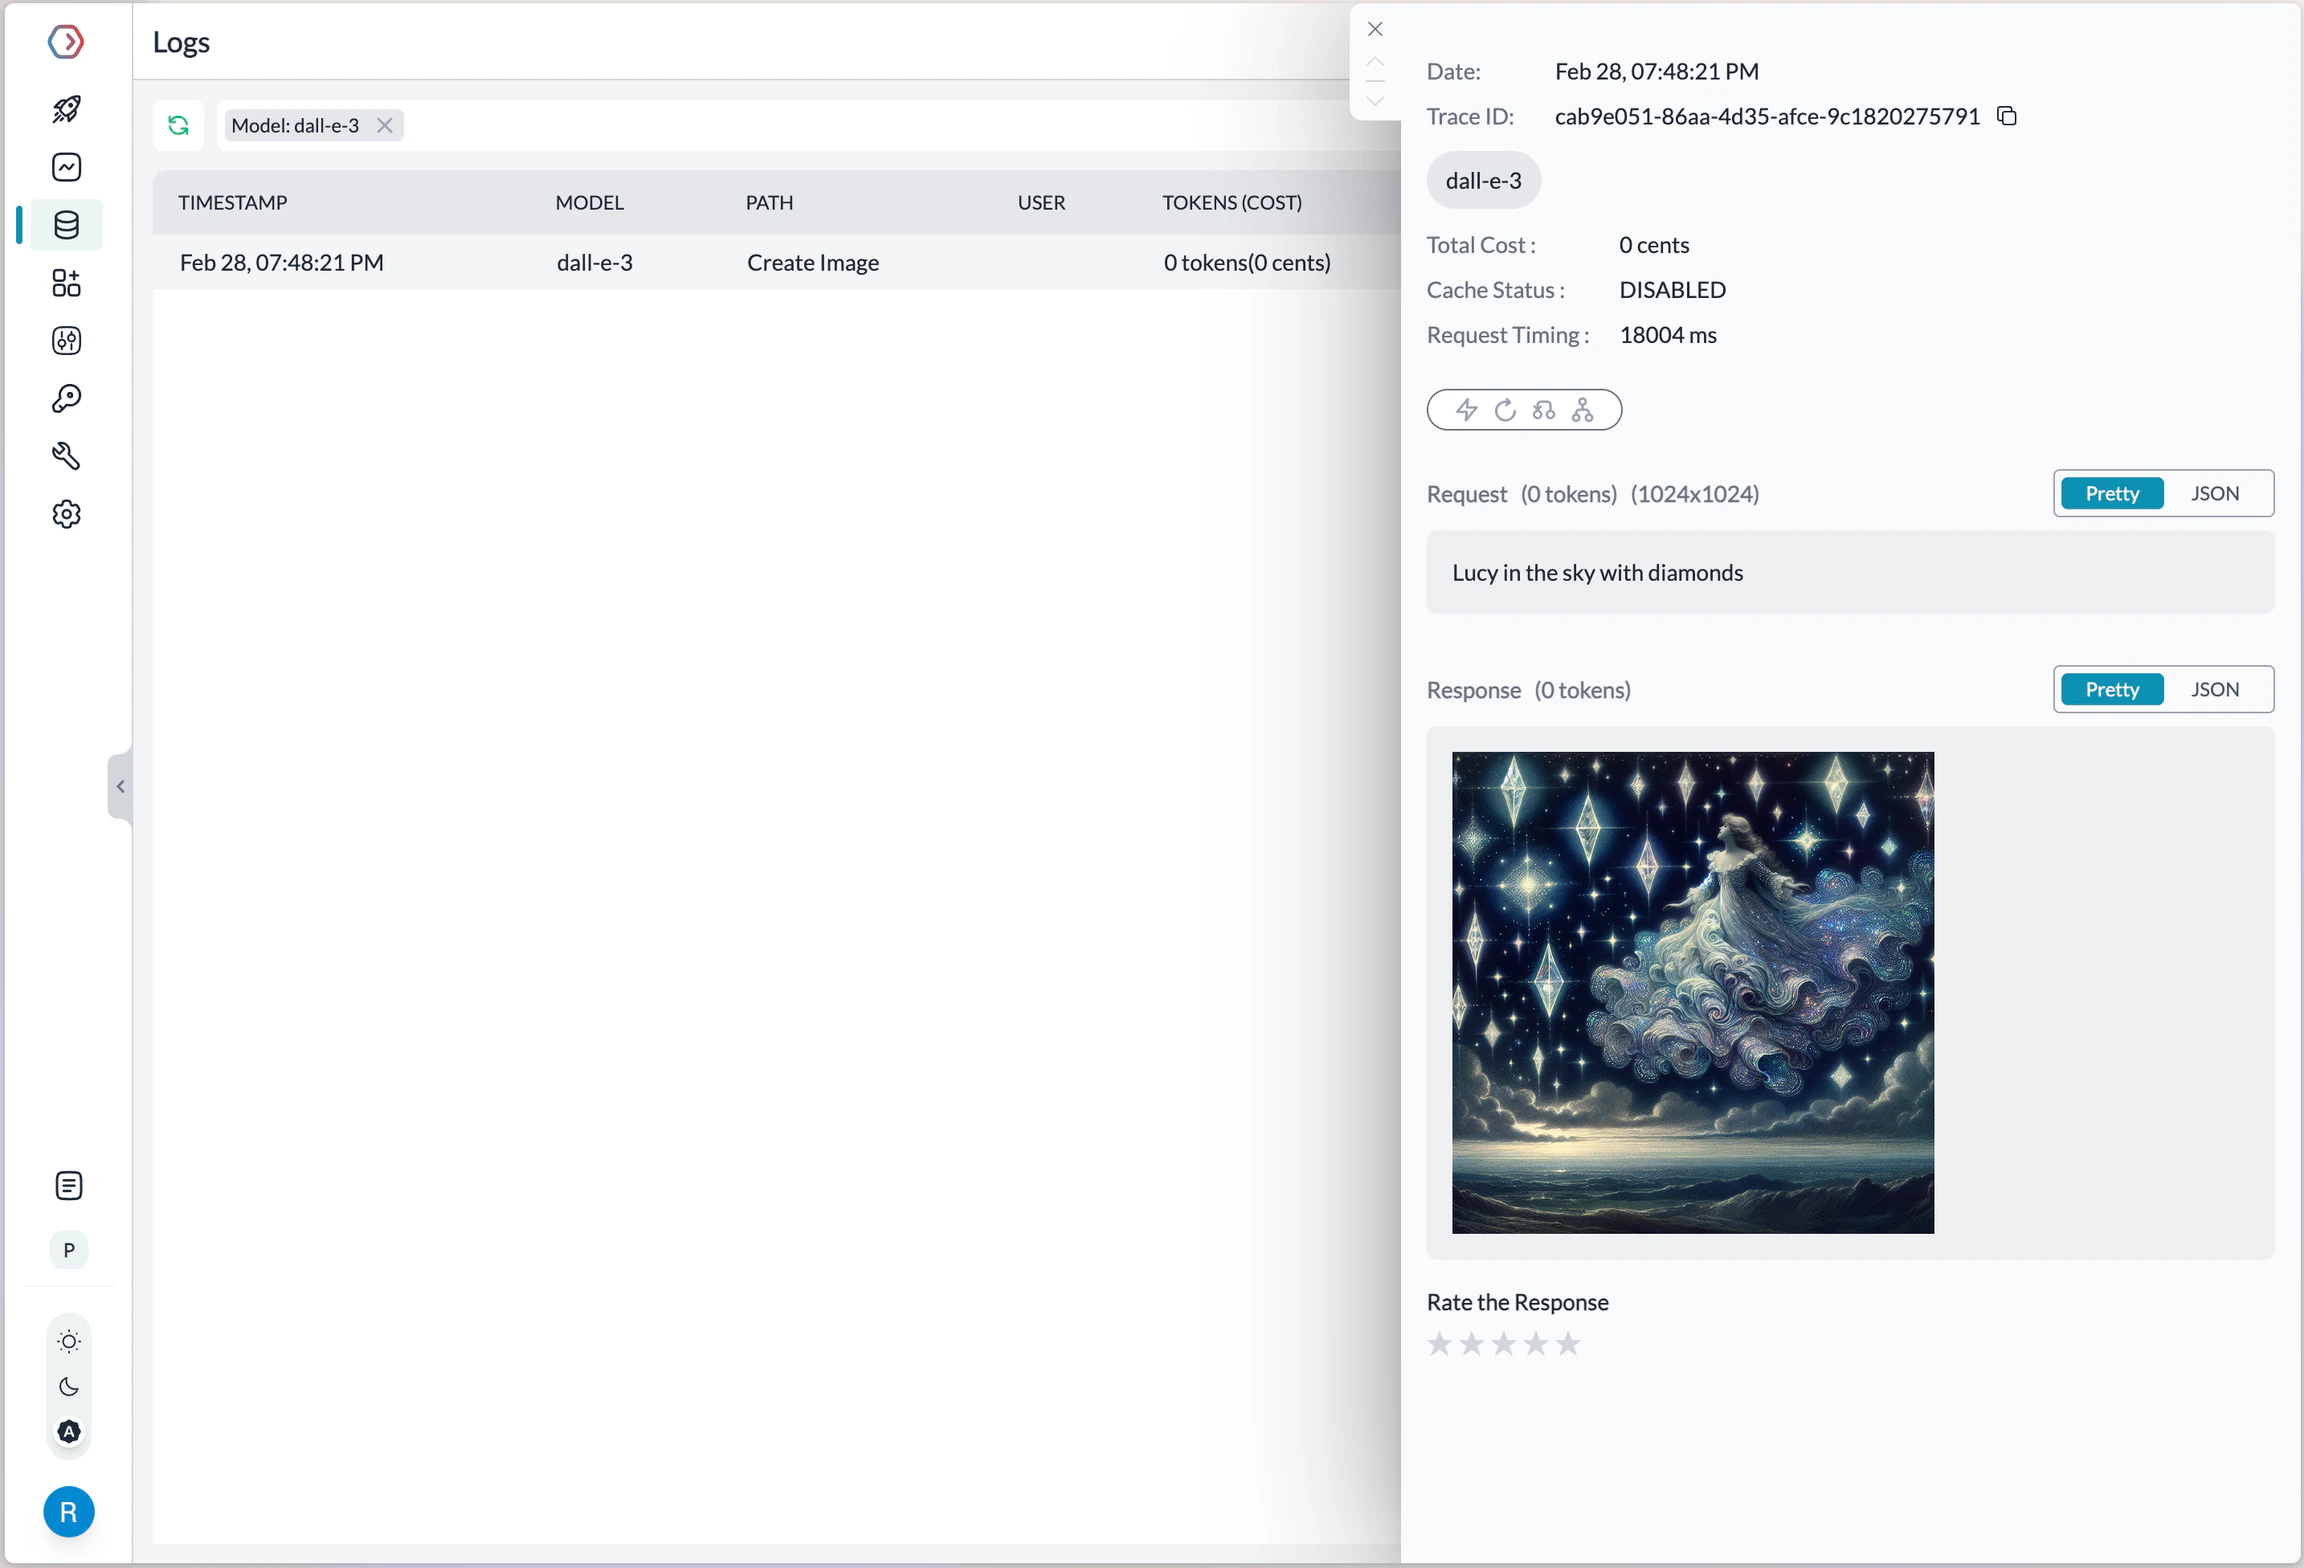
image = client.images.generate(
prompt="Lucy in the sky with diamonds",
size="1024x1024"
)
Making Requests Without Virtual Keys
Here’s how you can pass your Azure OpenAI details and secrets directly without using the Virutal Keys feature.
Key Mapping
In a typical Azure OpenAI request,
curl https://{YOUR_RESOURCE_NAME}.openai.azure.com/openai/deployments/{YOUR_DEPLOYMENT_NAME}/chat/completions?api-version={API_VERSION} \
  -H "Content-Type: application/json" \
  -H "api-key: {YOUR_API_KEY}" \
  -d '{
    "model": "gpt-4o",
    "messages": [
      {
        "role": "system",
        "content": "You are a helpful assistant"
      },
      {
        "role": "user",
        "content": "what is a deer?"
      }
    ]
}'
| Parameter | Node SDK | Python SDK | REST Headers |
|---|
| AZURE RESOURCE NAME | azureResourceName | azure_resource_name | x-obiguard-azure-resource-name |
| AZURE DEPLOYMENT NAME | azureDeploymentId | azure_deployment_id | x-obiguard-azure-deployment-id |
| API VERSION | azureApiVersion | azure_api_version | x-obiguard-azure-api-version |
| AZURE API KEY | Authorization: “Bearer + “ | Authorization = “Bearer + “ | Authorization |
| AZURE MODEL NAME | azureModelName | azure_model_name | x-obiguard-azure-model-name |
Example
from obiguard import Obiguard

client = Obiguard(
    obiguard_api_key="sk-obg***",  # Your Obiguard API key
    provider = "azure-openai",
    azure_resource_name = "AZURE_RESOURCE_NAME",
    azure_deployment_id = "AZURE_DEPLOYMENT_NAME",
    azure_api_version = "AZURE_API_VERSION",
    azure_model_name = "AZURE_MODEL_NAME",
    Authorization = "Bearer API_KEY"
)
curl https://gateway.obiguard.ai/v1/chat/completions \
  -H "Content-Type: application/json" \
  -H "Authorization: Bearer $AZURE_OPENAI_API_KEY" \
  -H "x-obiguard-api-key: $OBIGUARD_API_KEY" \
  -H "x-obiguard-provider: azure-openai" \
  -H "x-obiguard-azure-resource-name: $AZURE_RESOURCE_NAME" \
  -H "x-obiguard-azure-deployment-id: $AZURE_DEPLOYMENY_ID" \
  -H "x-obiguard-azure-model-name: $AZURE_MODEL_NAME" \
  -H "x-obiguard-azure-api-version: $AZURE_API_VERSION" \
  -d '{
    "model": "gpt-4o",
    "messages": [{"role": "user","content": "Hello!"}]
  }'
How to Pass JWT (JSON Web Tokens)
If you have configured fine-grained access for Azure OpenAI and need to use JSON web token (JWT) in the Authorization header instead of the regular API Key,
you can use the forwardHeaders parameter to do this.
from obiguard import Obiguard

client = Obiguard(
    obiguard_api_key="sk-obg***",  # Your Obiguard API key
    provider = "azure-openai",
    azure_resource_name = "AZURE_RESOURCE_NAME",
    azure_deployment_id = "AZURE_DEPLOYMENT_NAME",
    azure_api_version = "AZURE_API_VERSION",
    azure_model_name = "AZURE_MODEL_NAME",
    Authorization = "Bearer API_KEY", # Pass your JWT here
    forward_headers= [ "Authorization" ]

    )
Next Steps
The complete list of features supported in the SDK are available on the link below.